Let’s face it: Zoom fatigue is real. And as a result, lots of instructors and educators are looking for fun ways to add some variety to their face-to-face learning. On the one hand, that means some tried-and-true tools are finally getting to shine. On the other, every attempt at variety means learning a new platform! These days, the easier it is to pick up an ed-tech solution right out of the box, the better.
I sat down with the intention of making a quick screencast just to introduce new and prospective users to the fun and benefit of one of my favorite tools, Kahoot! (heretofore referred to without the exclamation point). Some recent updates have made it a much more robust tool for livening up discussion with a little friendly competition. It’s not just a quizzer, though. Rather, in my video, I wanted to highlight how Kahoot can be used as a means of scaffolding and guiding discussion – provided you bake that goal into the design.
First, the basics. Kahoot is a web-based interactive learning tool that allows users to create question slides and serve them up to learners as a playable game. Players earn points by answering the questions that appear on a central screen by using their smartphones, tablets, or computers. Kahoot keeps track of players’ scores and which questions learners have the most difficulty answering in the aggregate. And the Kahoot website has evolved into a robust community of user-generated quiz content that anyone can feel free to play.
I’ve used Kahoot in face-to-face and blended instruction a number of times, and I wanted to create a video that accomplished three objectives:
1) introduce new users to the Kahoot interface, so that they can locate the various editing tools and variables at their disposal when making an interactive slide;
2) demonstrate how the “executor” / designer screen and the player screen reflect very different playthrough experiences;
and 3) offer some suggestions about how to use each slide type in an eLearning or blended learning scenario.
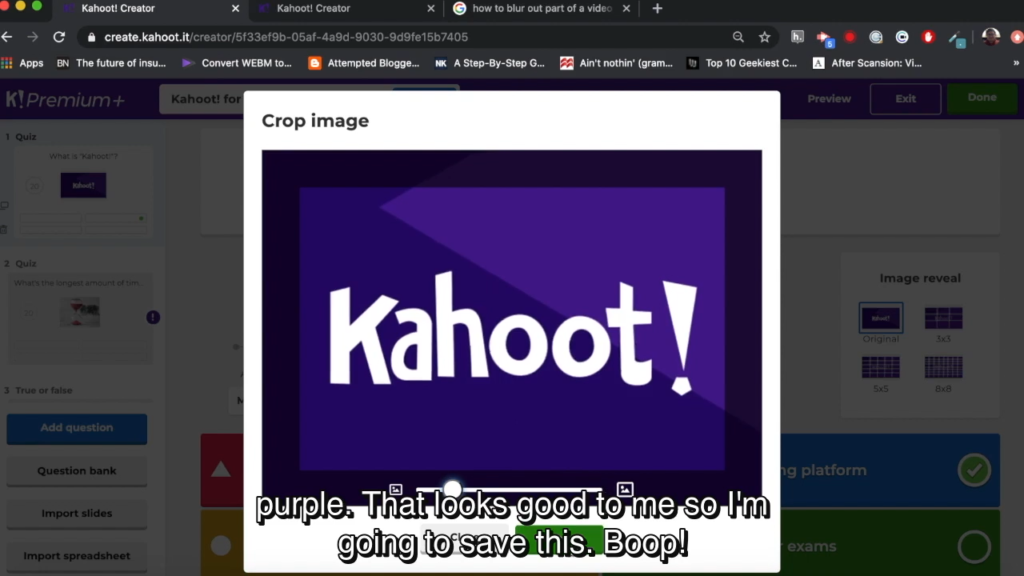
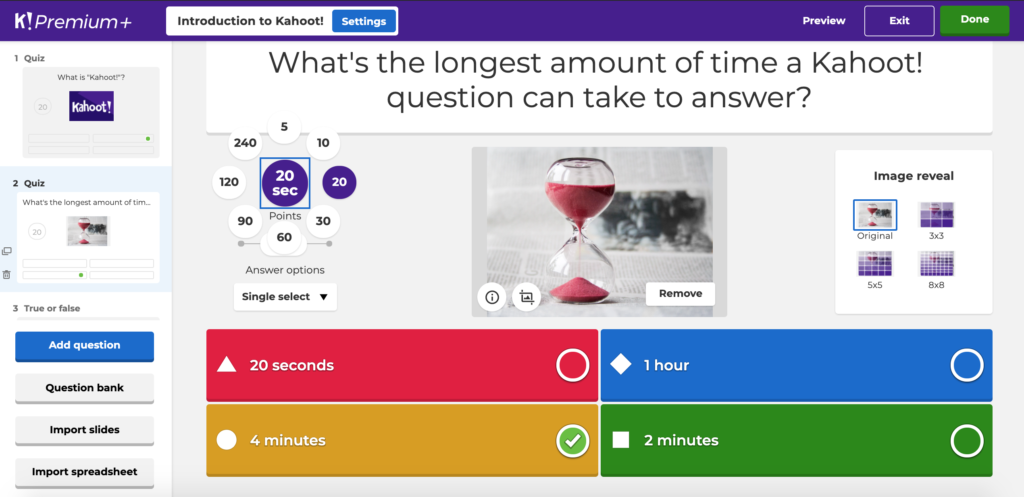
The way I figured I could do all of this was by building a quiz in Kahoot to about 90% completion. Each question would be about an element of Kahoot: the timer, the point system, how to enter acceptable answer choices or responses, and so on. I knew the first slide would need to be virtually blank, or a basic template, so that I could start by walking the viewer through typing in a question, setting multiple choice answers, and inserting or replacing an image. And I hoped that the “meta” conceit of using Kahoot’s editor to walk through a Kahoot about Kahoot would be a little bit fun.
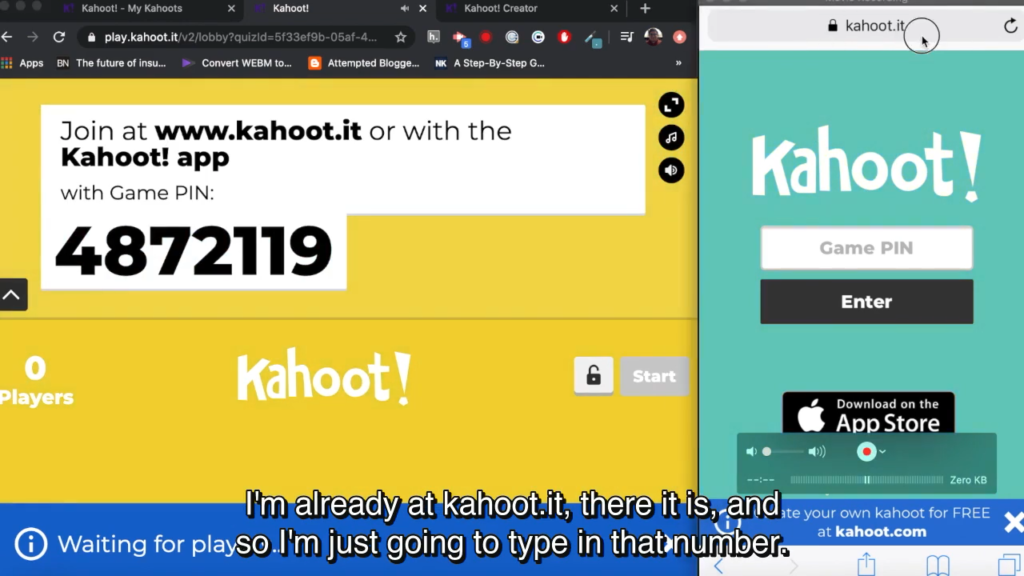
It also meant that I could leverage the same material from the editor walkthrough as the basis of a Kahoot playthrough. In the latter portion of the video, I would show my iPhone screen with the player experience (recording it is a snap with QuickTime and a lightning cable) next to my browser window with the “executor” experience. Viewers could see what players see while re-experiencing each of the questions about the Kahoot editor — this time without the benefit of being able to see the editor and make guesses based on inferences. So going through the quiz as a player allows viewers to try and recall the information from the first part of the video, thereby reinforcing the learning.
So much for the planning, but in practice, I needed to retool things a bit. The first difficulty I encountered was that Kahoot has recently introduced some pretty drastic changes to both its template structure and its payment plans. I needed to sign up for a new Premium account to be able to demo all of the slide types, and I also needed to familiarize myself with a couple of the new templates.

I settled on a sequence that seemed logical for introducing the basics and then the different slide types. And once that sequence was set, recording the screencast and editing out some false starts in iMovie were relatively straightforward.
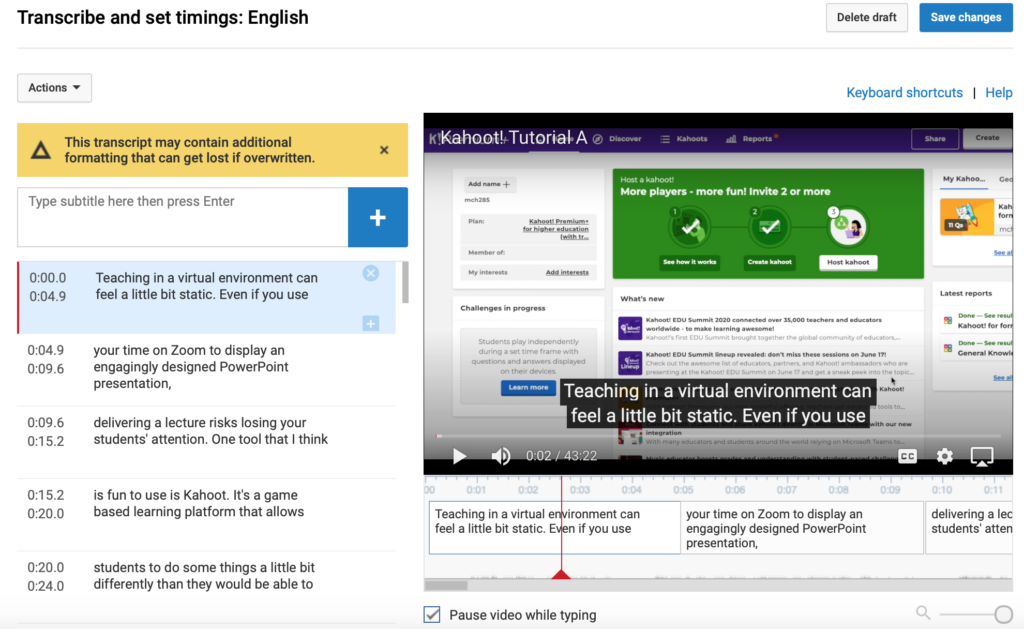
Still, filming an unscripted screencast always poses a bit more of a problem when you want to provide an accessible, subtitled experience. Without a transcript at my disposal from the get-go, I would have to type up everything I said in the video and then separate the transcript into individual time-coded subtitles.
Happily, there’s a tech assist for that. Otter.ai is a voice memo tool designed to record and transcribe meetings and conversations in real time. But the tool also allows you to upload an audio or video file and will set to work producing a transcript of the soundtrack. As with a lot of transcription software, you then need to go through the text and edit it so it’s fully readable, but still meant this step took a fraction of the time it would have transcribing “by hand.”

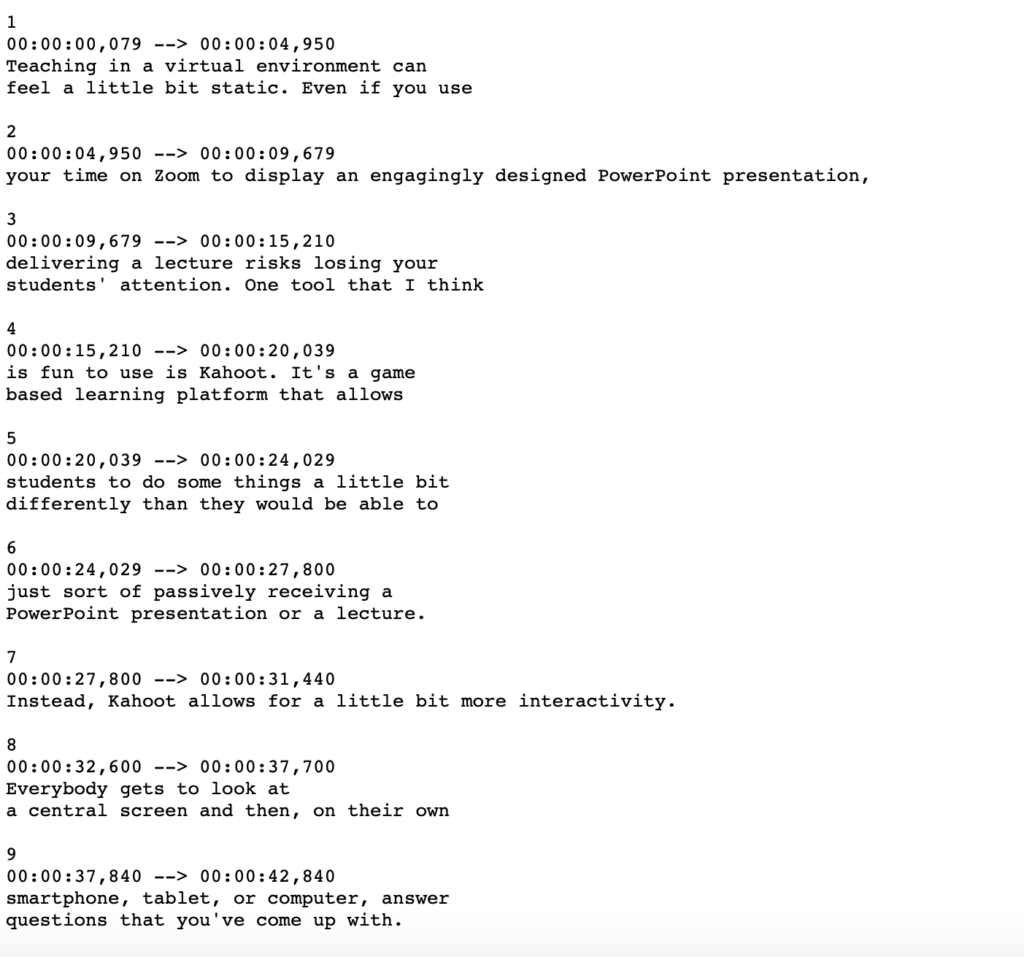
To generate time codes, I uploaded the video to YouTube and used the Studio Editor’s auto-caption generator, taking the guesswork out of determining when and where to place each caption. YouTube’s captions were less accurate than Otter.ai’s, but the text it generated was irrelevant – really, I just wanted the caption slots. That way, I could fill in one caption at a time with my cleaned-up Otter.ai text file. Time consuming, sure, but much less painful than plugging individual .srt files into Adobe Premiere (even if I get less customization).
Finally, I decided to download the time-coded captions as an SRT file so that I could insert the subtitles directly into the video. (YouTube just optionally overlays subtitles, provided you play the video on YouTube… and I wanted to host my own property!) Running the .mp4 through Handbrake, a free video transcoder, let me give a little bit of gain to the volume and create a newly coded version with the subtitles burned in. And ultimately, this is the version that I reuploaded to YouTube, where it can live forever.
Throughout the whole workflow, it didn’t help that the video I had produced was about 45 minutes long. It proceeds through the Kahoot interface at a decent pace, but my stated aim to introduce viewers to each and every one of the question types meant that I couldn’t get away with fewer than 7 questions (my actual Kahoot was a bit longer than that, though it only took about 8 minutes to play through, with pauses for explanation). The previous version of Kahoot really only had 3 question types with a couple of variations. There’s much more functionality in the latest update, which is great! But that meant a bit more devoted to explanation.
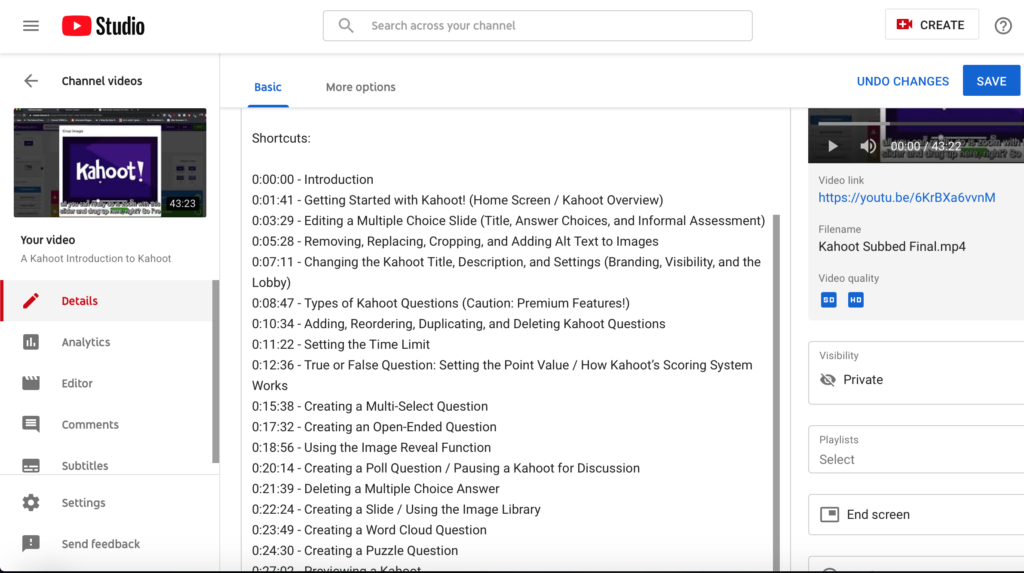
The advantage to hosting the video on YouTube is that I could add timestamp shortcuts to the video description. By including these markers, I could segment the video into more manageable chunks without forcing viewers to navigate solely with the seekbar. Having those chapters also allows viewers to return to specific moments based on their quiz-construction needs, allowing the tutorial to function as a reference work as well.
But all in all, I think this is a fun, leisurely introduction to how to get started playing with this tool – and, hopefully, a convincing case for the techno-skeptic to think about how Kahoot might blend with their current pedagogy.